How to set up IPTV on Dreamlink T1 and T1 plus
Entertainment these days is vastly different from what it used to be not too long ago. Modern technology has made it possible for us to watch shows and movies without having an expensive cable TV subscription. IPTV boxes such as the Dreamlink T1 and T1+ are finally able to fully replace your existing cable service. Better yet, they provide you a lot more entertainment options at a fraction of the cost of traditional TV providers.
Dreamlink- One of the top IPTV box in the market today. If you want to enjoy watching live TV, I recommend this box. Dreamlink T1 and T1 Plus come with a lot of features that will make you fall in love with the box.
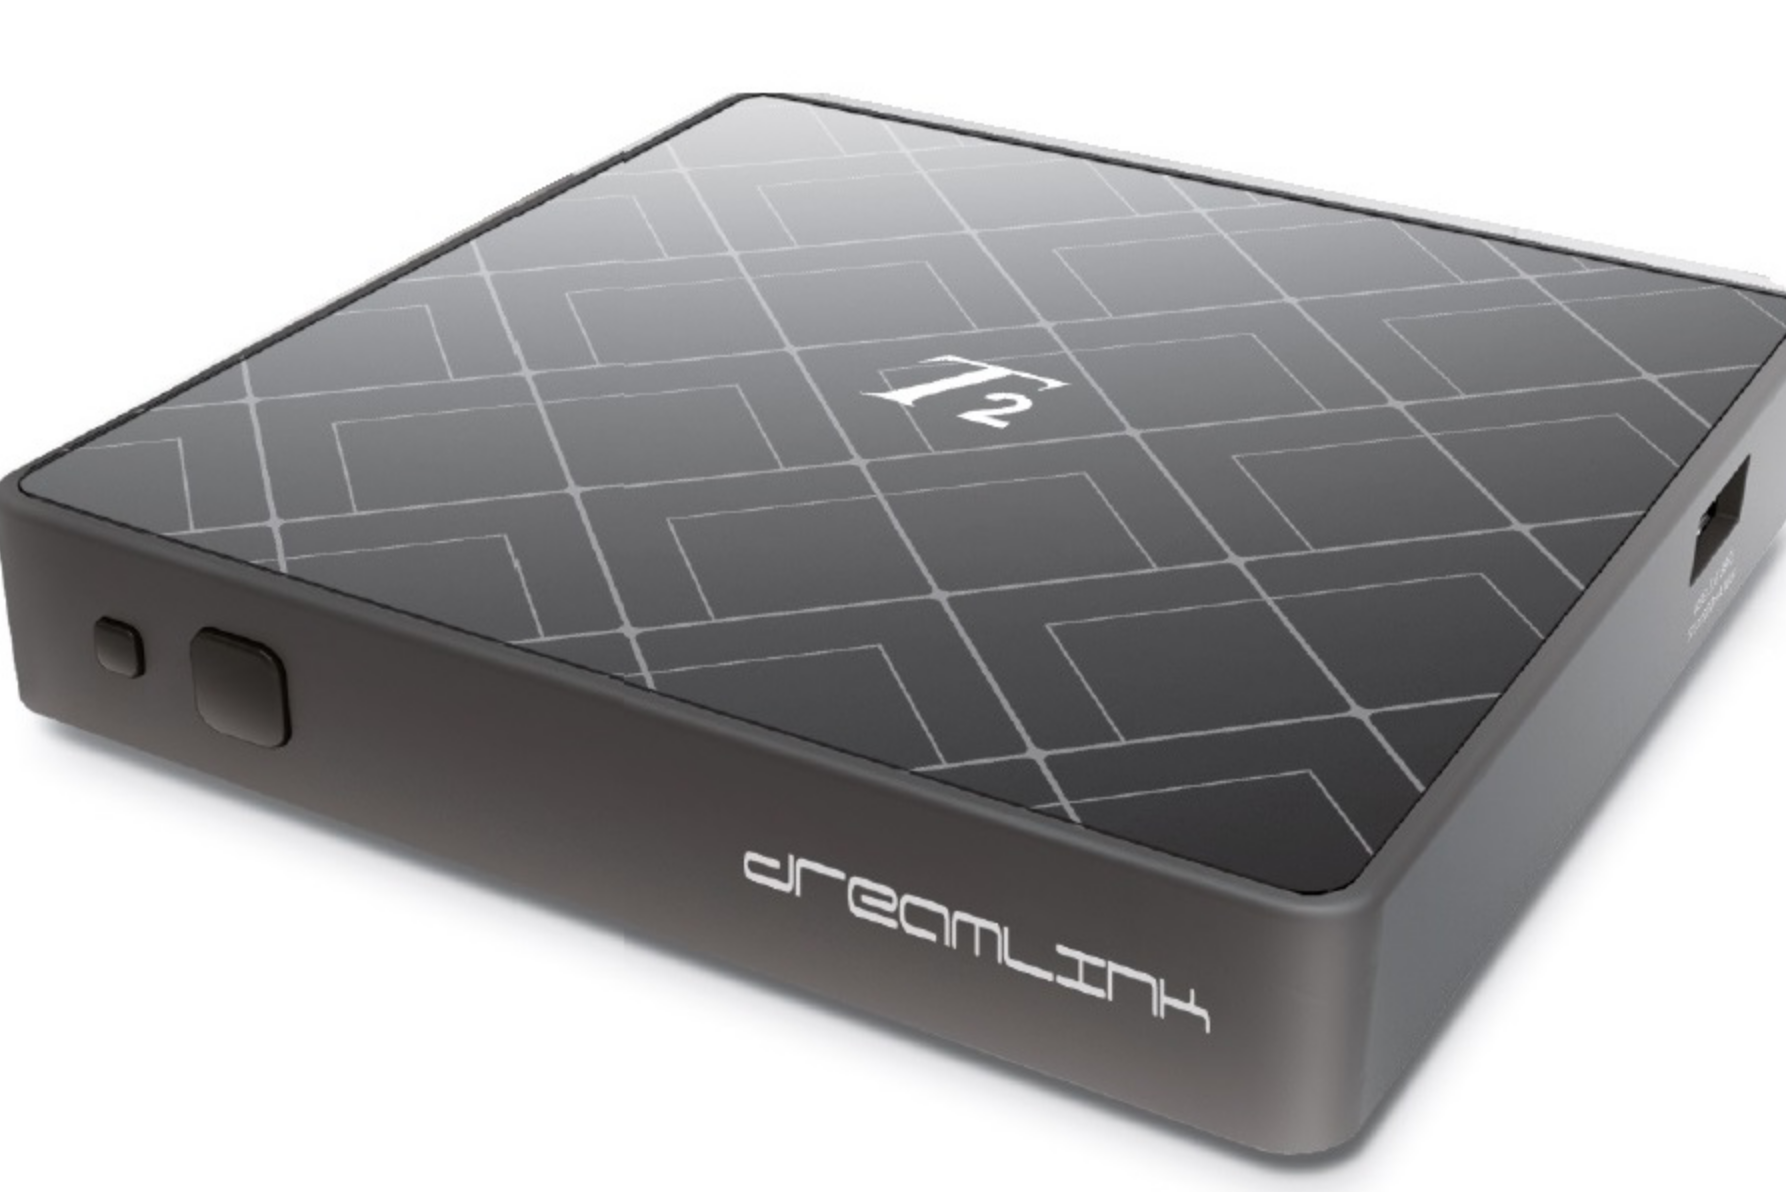
You just bought Dreamlink T1 box and look forward to Dreamlink T1 setup guide.
Pretty simple just follow the instructions here.
Before installing IPTV on your Dreamlink box please make sure you already register for IPTV subscription with your MAC address. When you click on DOL 2 app, you can see your MAC address in the top right corner.
Here you go.
5 simple steps to setup IPTV channel on your Dreamlink T1 box with the DOL2 app
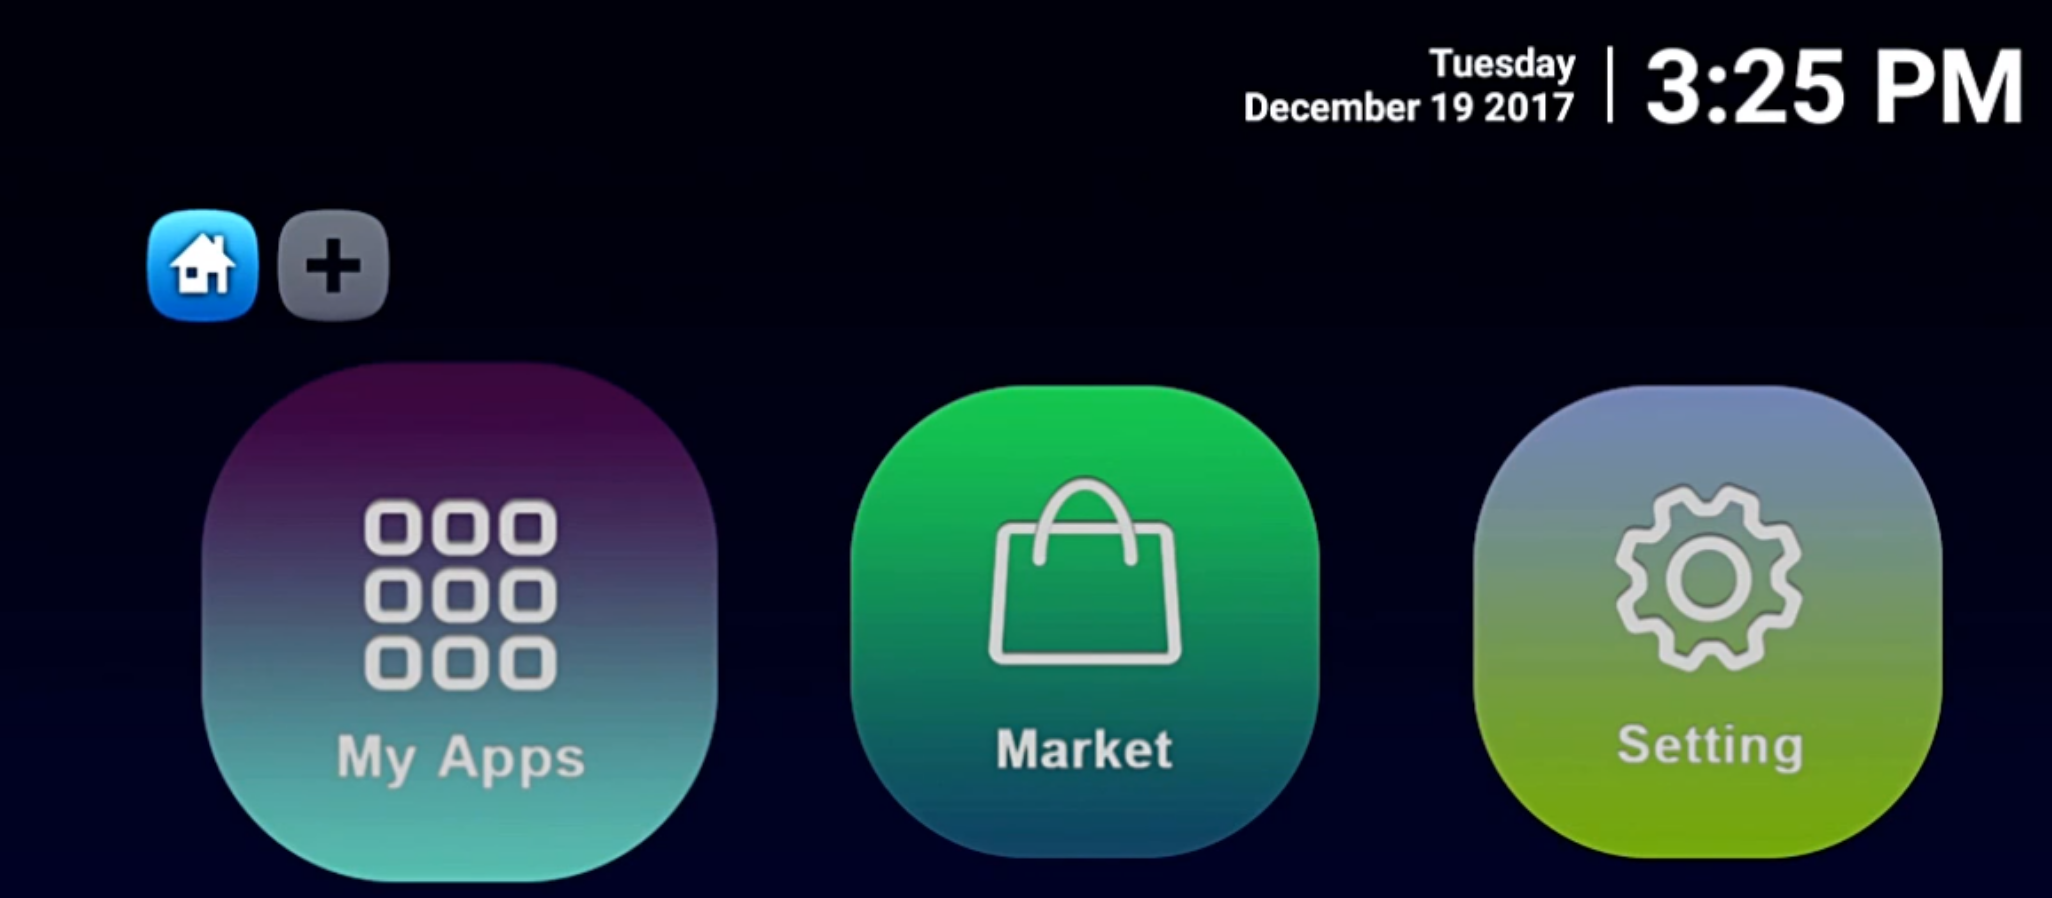
Step 1. From the main page, Open My Apps. If the DreamOnline (DOL2) is not in the My apps folder when you purchase a new Dreamlink T1 box you have to go to the Market folder, find it and install it from there- after that it will appear in the My apps folder
.
Step 2. Select DreamOnline (DOL 2) – It will automatically load to the Service menu.
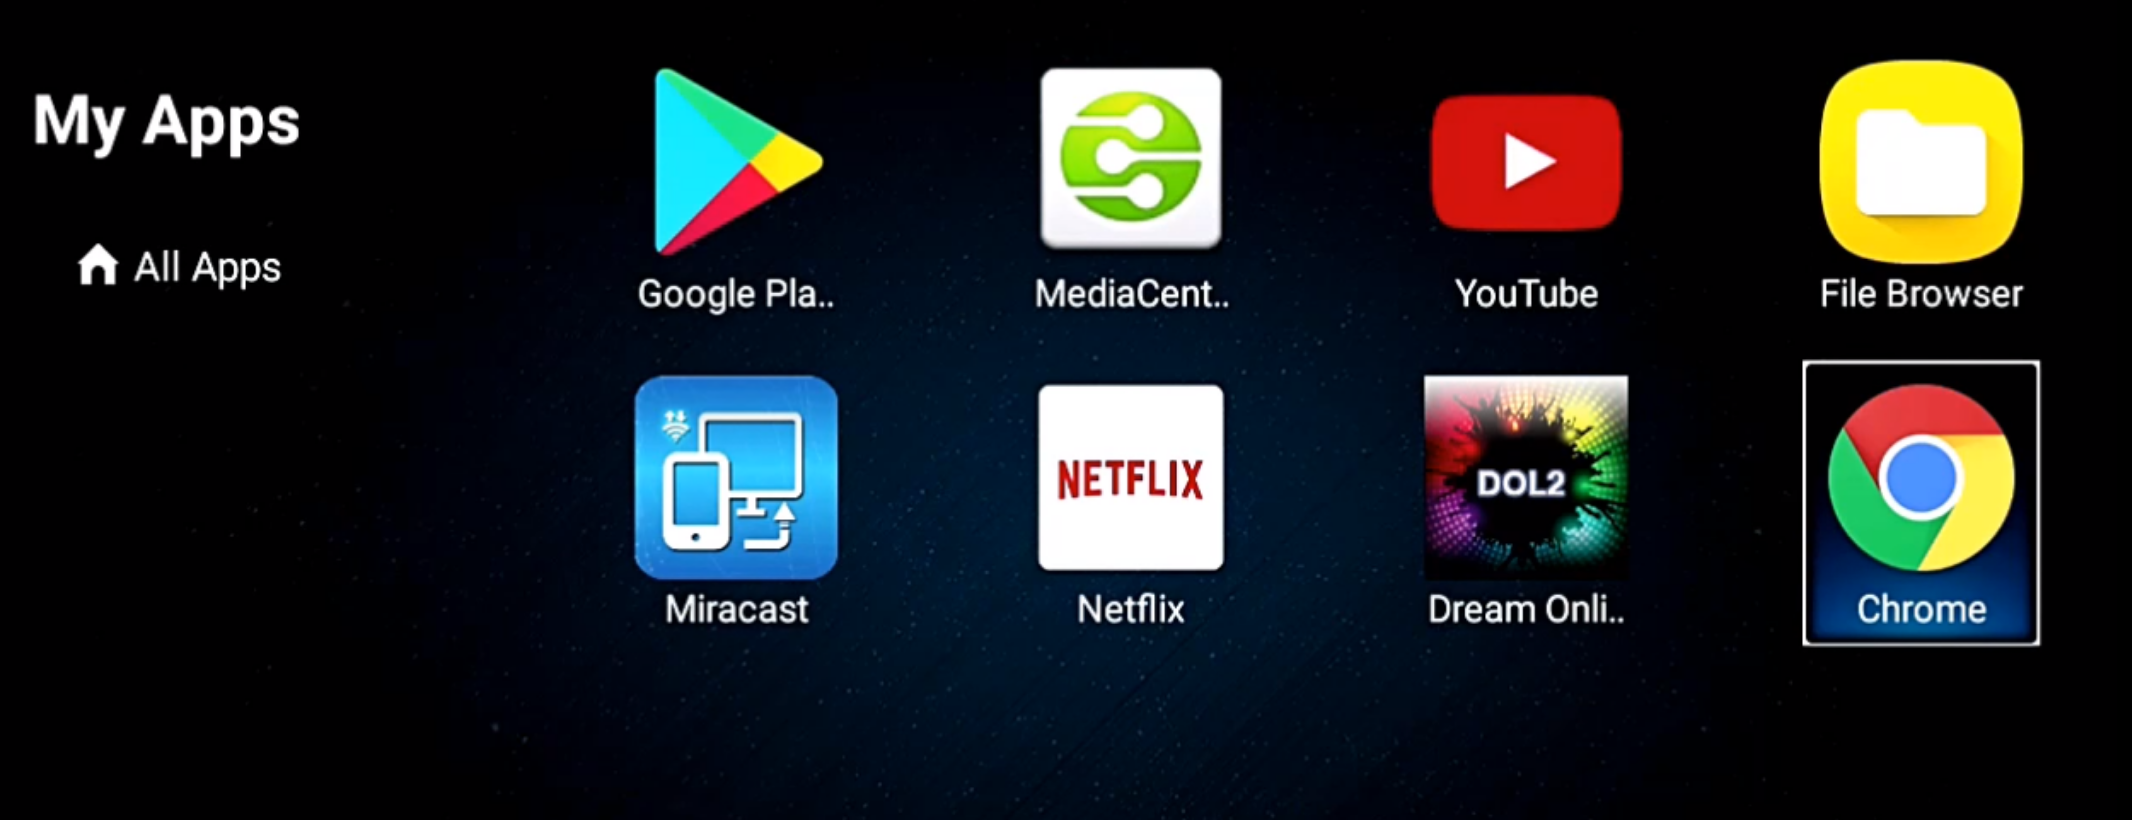
Step 3. On DOL Page, note the Mac address in the top right corner. Add it during the checkout on the field “Mac Address”. Select “Setting”
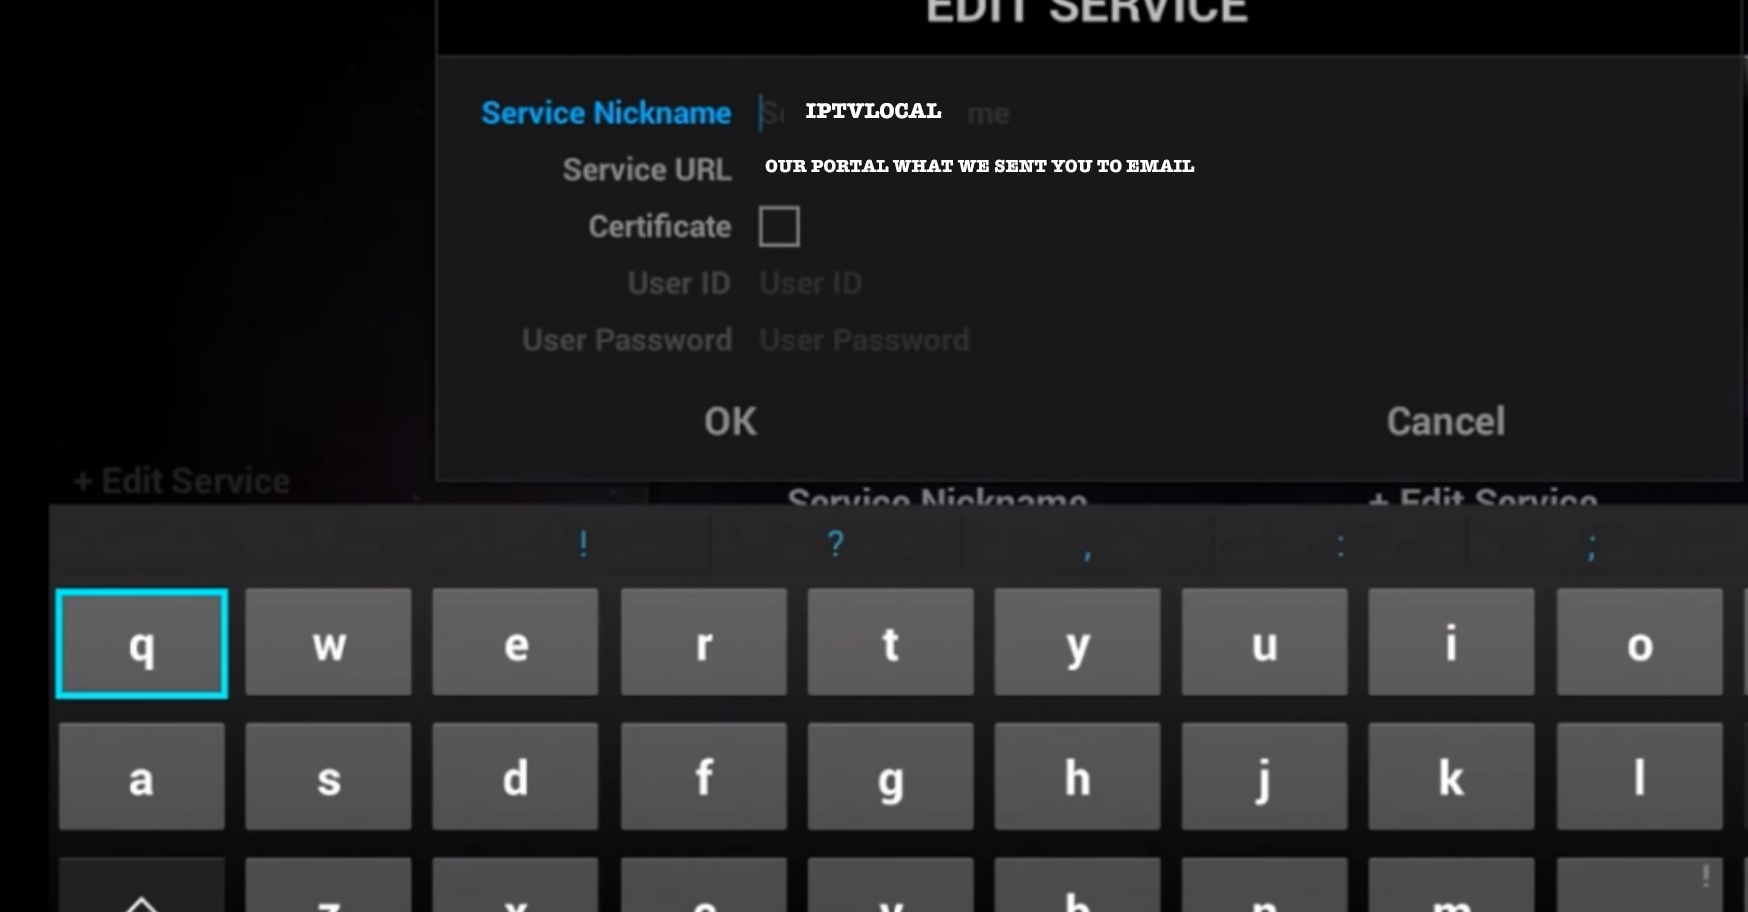
Step 4. Edit should be highlighted already, press OK on your remote to edit details. Now you must input your information:
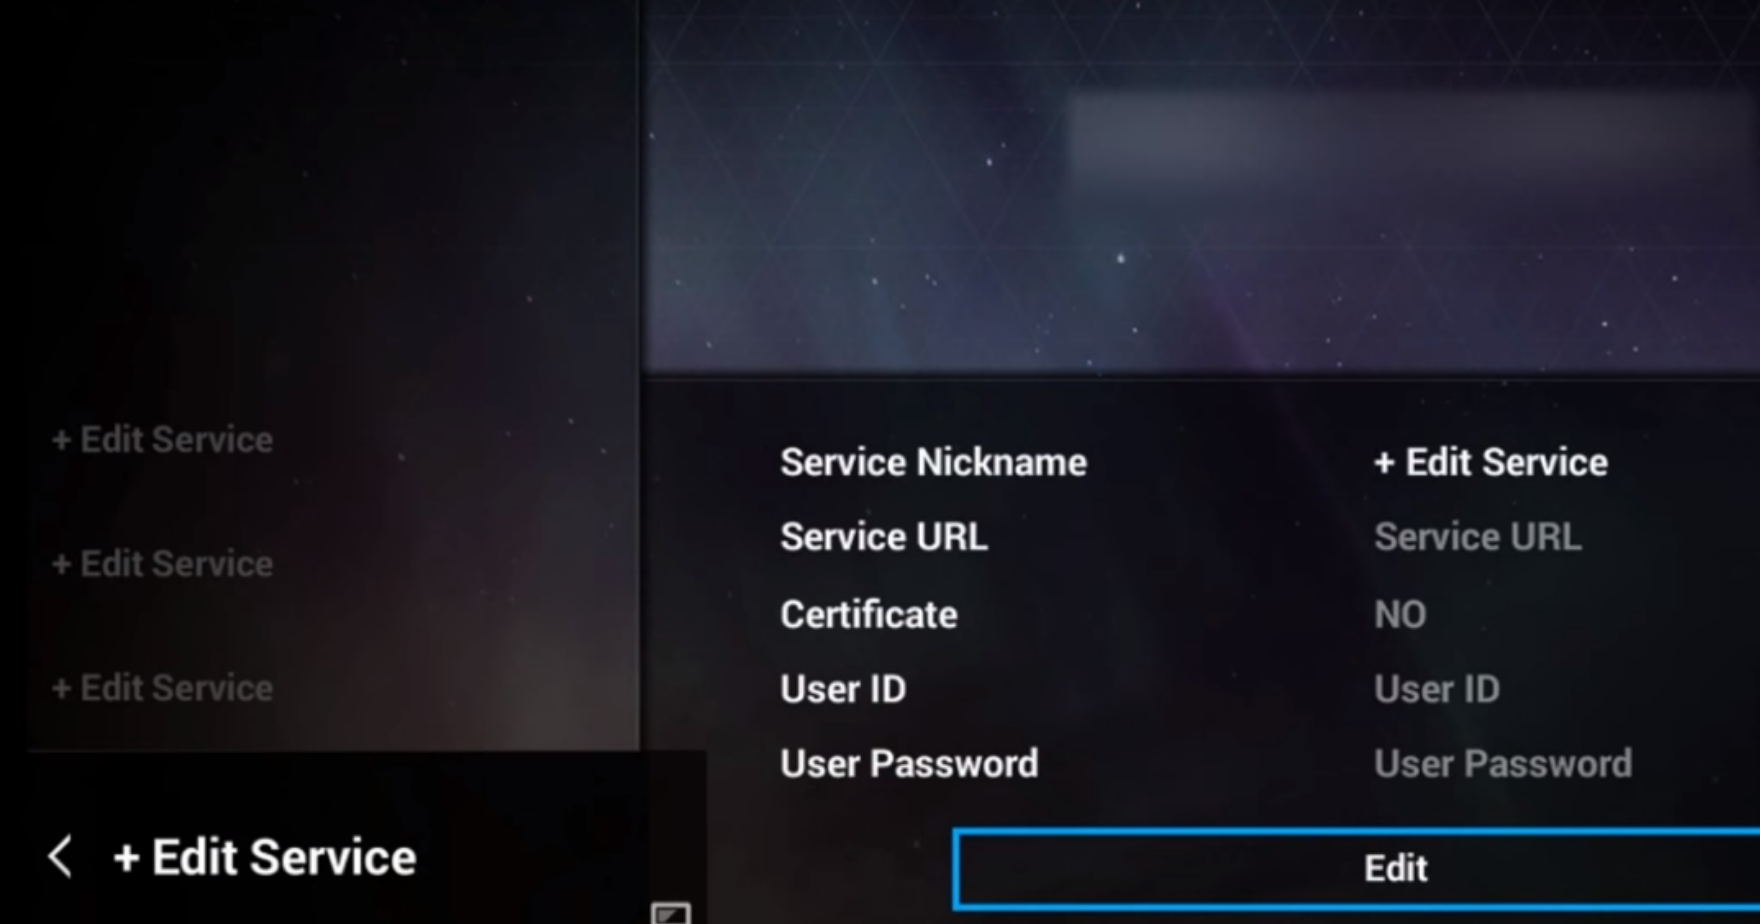
Service Nickname: Enter server name: BestbuyIPTV
Service/Portal URL: PORTAL WE SENT YOU BY EMAIL– Double check it, make sure all character you fill is right.
Certificate: Leave it unchecked
User ID: Leave it empty
User Password: Leave it empty
Step 5. Now Select OK to save your settings. Click the red button to Connect Service. It will now automatically connect
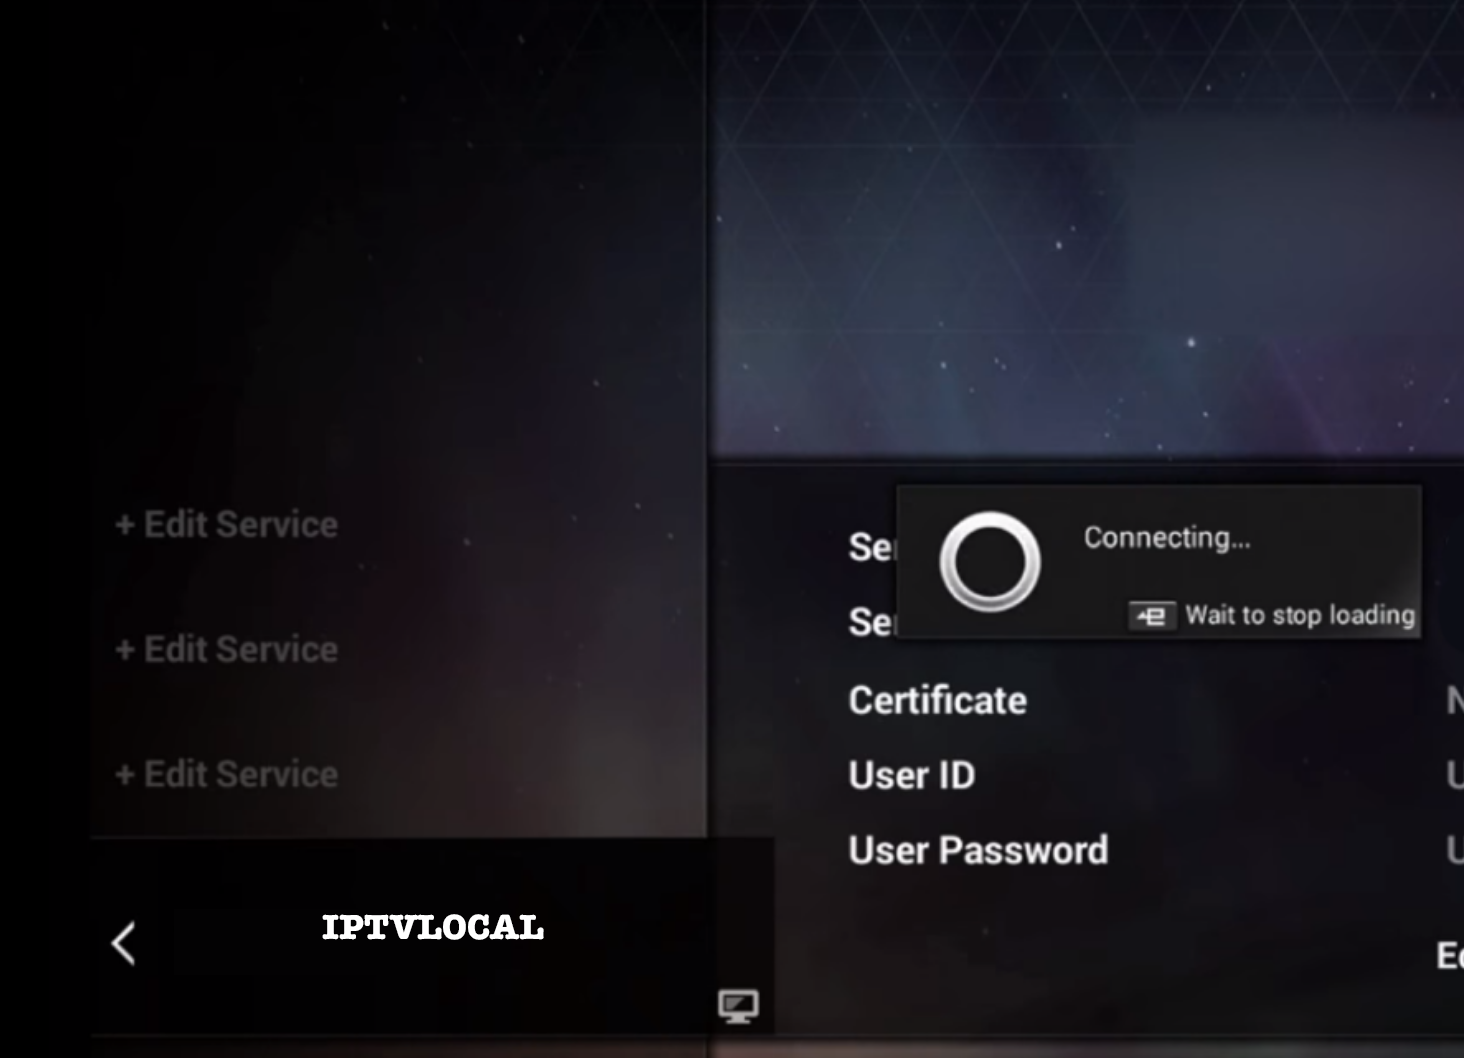
Like you see it is very easy to set up you just need to enter your portal

